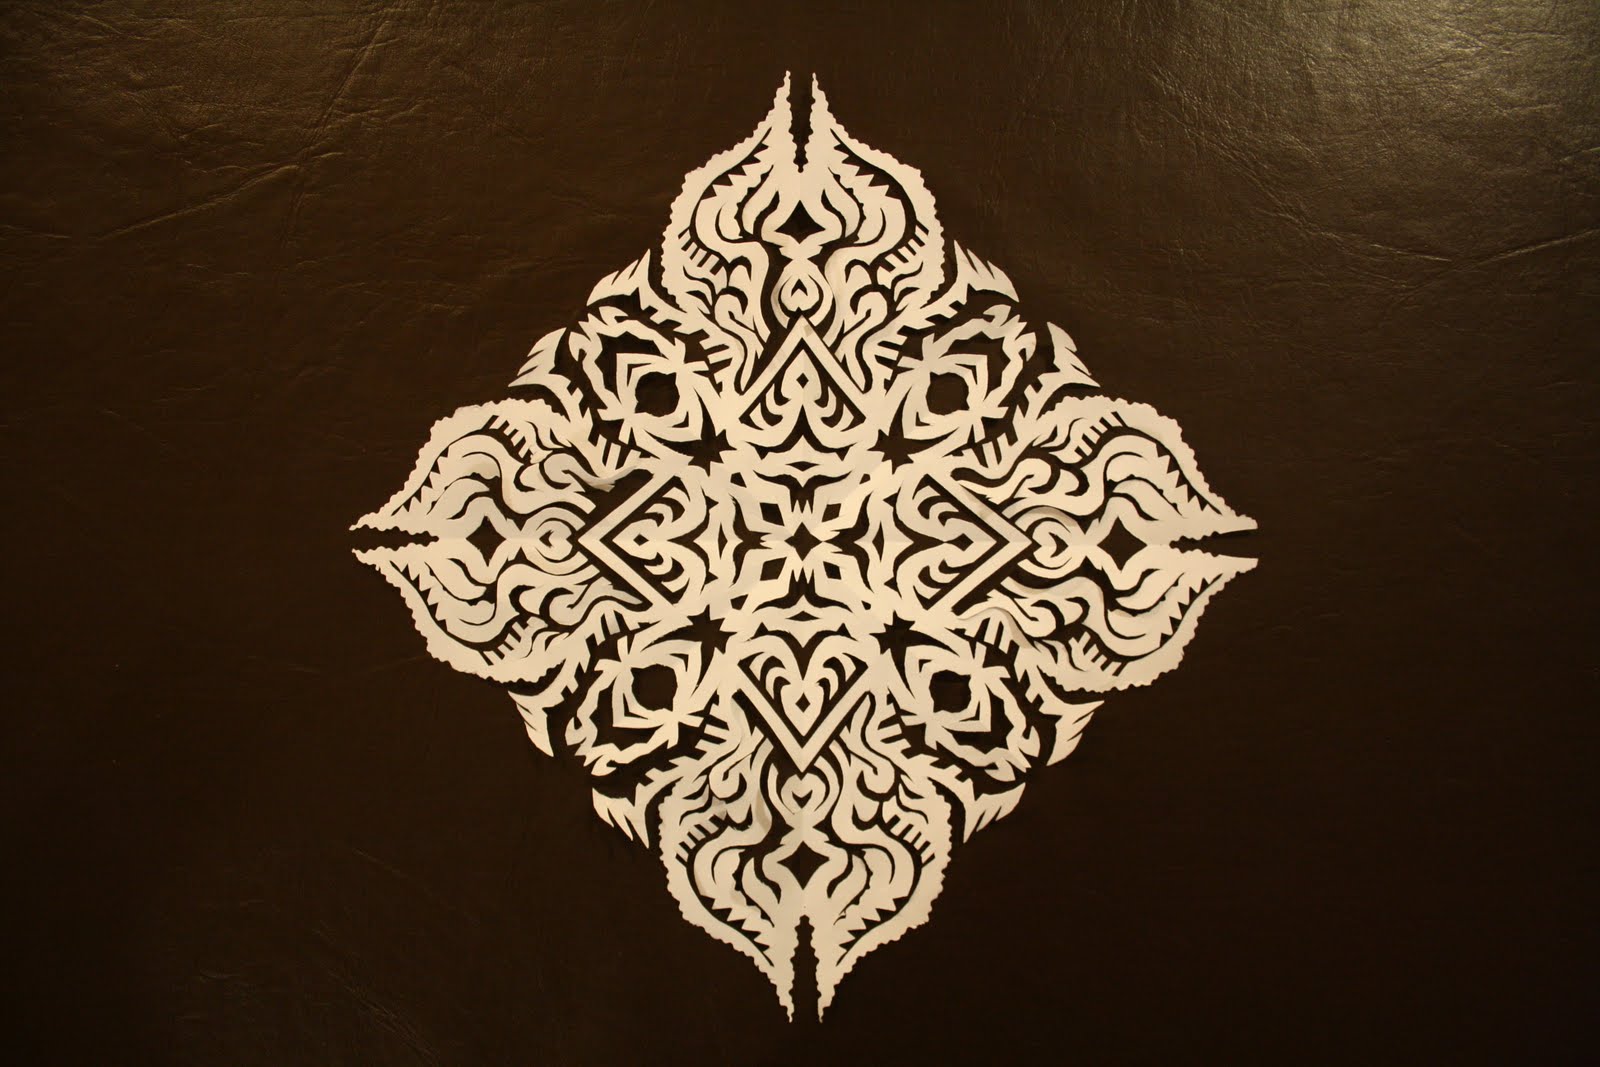
...Or rather I should say that My Hubby has a gift that he doesn't want anyone to know about.....he can free hand cut beautiful paper snowflakes that look like lace!!! Here is a photo of one of the most recent ones he has made. I am hoping to get them framed in the next month or so.
Wednesday, December 29, 2010
Monday, January 25, 2010
Dolls and Messenger Bags.
Good Morning,
I can't believe how time has flown since I last posted. I have been busy doing lots of different things. For Christmas I made each of my daughters a Wee Wondefuls doll from the Kit, Chole and Louise pattern. My girls loved each doll and messenger bag that I made for them. Their eyes shone like bright copper pennies, so it was definitely worth the lack of sleep it took to get them done on time for Christmas.
Meet Dolly Sally and Shaela.
The pink one is for my youngest daughter, and the orange one is for my oldest daughter. I have one in the making for my son.

I made matching messenger bags for each doll. Check my previous post for a link to the messenger bag pattern.

A close up of the design on the flap of the bag. I used my big shot and some dies from Stampin' Up! to create the appliques, then adhered them to the fabric, and did a combination of hand stitching and machine stitching to finish them off.

Here is the pink messenger bag and Dolly Sally.

Here's a close up of the pink one.

How about the rest of you, did you get a chance to make any home made gifts this year? Baking, sewing, stamping, scrapbooking, etc?
have a great day,
Marcia
I can't believe how time has flown since I last posted. I have been busy doing lots of different things. For Christmas I made each of my daughters a Wee Wondefuls doll from the Kit, Chole and Louise pattern. My girls loved each doll and messenger bag that I made for them. Their eyes shone like bright copper pennies, so it was definitely worth the lack of sleep it took to get them done on time for Christmas.
Meet Dolly Sally and Shaela.
The pink one is for my youngest daughter, and the orange one is for my oldest daughter. I have one in the making for my son.

I made matching messenger bags for each doll. Check my previous post for a link to the messenger bag pattern.
A close up of the design on the flap of the bag. I used my big shot and some dies from Stampin' Up! to create the appliques, then adhered them to the fabric, and did a combination of hand stitching and machine stitching to finish them off.
Here is the pink messenger bag and Dolly Sally.
Here's a close up of the pink one.
How about the rest of you, did you get a chance to make any home made gifts this year? Baking, sewing, stamping, scrapbooking, etc?
have a great day,
Marcia
Saturday, October 10, 2009
Hello,
About two weeks ago I went to another bag ladies night. We went to the Quilted Cats Studio, and had such a fun evening of sewing, yummy desserts, laughter and friendship.
This time I made a messenger bag out of some denim that I had bought probably well over 10 years ago. I also used some of the pixie bella fabric from my reversible tote and crochet roll from my previous post. I used a bigz die for my Stampin' Up! Big Shot (check out my sil's SU website to purchase all SU supplies used in this project) called butterflies to die cut the butterflies out of fabric. I then used steam-a-seam to adhere the appliques onto the flap of the bag. I also hand stitched the appliques on using a back stitch, then added some of SU's rhinestone colored brads for the body of the butterflies. I used SU's crystal effects to adhere the clear rhinestones onto the flap, we will see how sturdy that is as I use it. I just love using this bag. I love the pockets that are included in the pattern and designed/added an additional pocket to the inside for all my little goodies that I take with me when I am on the go. Other than the alterations I already mentioned, I followed the rest of the pattern to make the bag.

After I finished my messenger bag, I cut out the pieces for a wonder wallet, using left over fabric. I can't believe how many projects I have made with these 4 pieces of fabric (1/2 metre each). That is awesome how you can come up with or find different projects to use up all those scraps. This is such a cute little wallet when you want to just take a few things with you and not a big bag/purse. It was also super fast to make.

For the front of the wonder wallet I used a SU button from button bouquet, from last years cataloge, sorry it is no longer available. It was a perfect match.

Thanks for looking.
Have a great day!
On November 14th we bag ladies are attending an all day sewing/craft day. The sewing/craft day is at Cindy's church, her friend Michelle is the gal who does all the behind the scenes organizing for the craft events for their church. The cost is $15.00 which includes both lunch and dinner. If you would like more details, check out our Bag Ladies Strike Again facebook group or check out our Bag Ladies Blog. Details regarding the sewing/craft day will be posted in the next week or two, so stay tuned to the previous mentioned sites.
About two weeks ago I went to another bag ladies night. We went to the Quilted Cats Studio, and had such a fun evening of sewing, yummy desserts, laughter and friendship.
This time I made a messenger bag out of some denim that I had bought probably well over 10 years ago. I also used some of the pixie bella fabric from my reversible tote and crochet roll from my previous post. I used a bigz die for my Stampin' Up! Big Shot (check out my sil's SU website to purchase all SU supplies used in this project) called butterflies to die cut the butterflies out of fabric. I then used steam-a-seam to adhere the appliques onto the flap of the bag. I also hand stitched the appliques on using a back stitch, then added some of SU's rhinestone colored brads for the body of the butterflies. I used SU's crystal effects to adhere the clear rhinestones onto the flap, we will see how sturdy that is as I use it. I just love using this bag. I love the pockets that are included in the pattern and designed/added an additional pocket to the inside for all my little goodies that I take with me when I am on the go. Other than the alterations I already mentioned, I followed the rest of the pattern to make the bag.
After I finished my messenger bag, I cut out the pieces for a wonder wallet, using left over fabric. I can't believe how many projects I have made with these 4 pieces of fabric (1/2 metre each). That is awesome how you can come up with or find different projects to use up all those scraps. This is such a cute little wallet when you want to just take a few things with you and not a big bag/purse. It was also super fast to make.
For the front of the wonder wallet I used a SU button from button bouquet, from last years cataloge, sorry it is no longer available. It was a perfect match.
Thanks for looking.
Have a great day!
On November 14th we bag ladies are attending an all day sewing/craft day. The sewing/craft day is at Cindy's church, her friend Michelle is the gal who does all the behind the scenes organizing for the craft events for their church. The cost is $15.00 which includes both lunch and dinner. If you would like more details, check out our Bag Ladies Strike Again facebook group or check out our Bag Ladies Blog. Details regarding the sewing/craft day will be posted in the next week or two, so stay tuned to the previous mentioned sites.
Saturday, August 29, 2009
Bag Ladies Strike Again...
A group of friends got together at Sarah's (my sil) house last night and we sewed up a storm. Cindy and Rhonda worked on making a bag from the latest Quilts and More magazine. Alexa made a messenger bag, Sarah made 3 music bags, two were reversible and one was a reversible bag with 4 patches on each side to make up the outside of the bag. I used the same pattern that Sarah used for the reversible bag. You can find the pattern for the tote I made on Cindy Lou's blog.
This is the new reversible tote that I made for my crocheting projects and a crochet roll to hold all the essentials that I need for individual projects. I used the Pixie Belle line of fabric from Fabricland and Stampin' Up!'s chocolate 5/8 grosgrain ribbon for the tie. Check out Sarah's blog if you are interested in buying any Stampin' Up! products. She has some awesome classes and clubs happening this fall.
The crochet roll tied up.
This is what the inside of the crochet roll looks like. I got the pattern for the crochet roll from the Sew Mama blog. I followed her instructions for everything except I didn't add binding to the edge I top stitched instead. For the first 5 pockets on the right side I used her measurements but for the rest of the pockets I just sized them for my tools.
Tuesday, August 04, 2009
Stave Lake
We went boating this past sunday with a couple of other families. We went out to Stave Lake on two boats. We drove around until we found a little rocky nook to park and bbq hot dogs. We saw some wildlife on the side and also some campers who were tenting on the shores here and there. The kids had so much fun tubing while the Dad's all went wake or knee boarding. The water was so clean, and this beautiful green colour. It was also just the perfect temperature for cooling off, not too cold and not too warm. Since this was made by flooding a valley there were lots of trees poking out of the water, it was really important when going through the channel to stay within the bouys. All in all it was a really fun afternoon. Here are a couple of pics.
Me and Juliana
Monday, July 27, 2009
My Weekend
Hi Everyone,
So far I have only been posting about how I have been organizing my scraproom. However, this weekend was our 16th wedding anniversary. So we stayed in Friday evening and ordered out our favourite desserts from local restaurants.
On Saturday we went with our oldest daughter to the Cultus Waterslide Park compliments of our realtors Larry and Marlene Siebert. They invite all of their clients each year for a bbq at the waterslides. We had a thunder/lightning storm with a torrential downpour, however once it passed we had a fabulous time with hardly any line ups at all, and we stayed until closing.
Yesterday we went to an amazing concert in our local area to see Michael W. Smith, Steven Curtis Chapman, and Brian Doerkson. But first we went out to dinner with my hubby's brother Steve and his wife Sarah to Greek Island's Restaurant. Yummy, Yummy, Yummy!!! Great food, awesome concert, and wonderful company, made for a wonderful night.
What a great anniversary weekend we had together!!!! Sorry I don't have any pics this time.
So far I have only been posting about how I have been organizing my scraproom. However, this weekend was our 16th wedding anniversary. So we stayed in Friday evening and ordered out our favourite desserts from local restaurants.
On Saturday we went with our oldest daughter to the Cultus Waterslide Park compliments of our realtors Larry and Marlene Siebert. They invite all of their clients each year for a bbq at the waterslides. We had a thunder/lightning storm with a torrential downpour, however once it passed we had a fabulous time with hardly any line ups at all, and we stayed until closing.
Yesterday we went to an amazing concert in our local area to see Michael W. Smith, Steven Curtis Chapman, and Brian Doerkson. But first we went out to dinner with my hubby's brother Steve and his wife Sarah to Greek Island's Restaurant. Yummy, Yummy, Yummy!!! Great food, awesome concert, and wonderful company, made for a wonderful night.
What a great anniversary weekend we had together!!!! Sorry I don't have any pics this time.
Saturday, July 25, 2009
This Rocks My Colour World!
This is a bird's eye view of my cropper hopper heavy duty rolling cart. My paper holder has a bin that holds just tons of 12 x 12 paper in vertical file folders, I think each one right now holds about 26 folders or so. I bought these from Joanne's on-line with a friend of mine and also from my local Michael's store a few years ago. They are made by Cropper Hopper. I don't think you can buy them anymore with the bin, but you can buy them without. I have implemented this sysem with my all of my cardstock; you can do this with whatever system you use for storing your papers as well.
I have had 3 of these rolling carts for a few years now, and until a year ago I only had my 12 x 12 papers in there. I also had them organized according to Stampin' Up!'s colour families (rich regals, soft subltes etc). Last fall I put all of my 8.5 x 11 cardstock into the folders with their matching 12 x 12 counterparts. I loved that I did that because when I wanted to grab a certain colour to work with, I had all of that specific colour of paper in all of the sizes I owned, plus all of the scraps (stored in a large ziploc bag within each folder) which are great for punches, and small stamped images etc. This also makes for great and easy portability of your colours when you want to go to a crop.
In just the last few weeks I have organized my paper folders according to the colours of the rainbow, just like my markers, and pencil crayons in the previous post. I now have a much better understanding as to exactly what each colour really is. For example: until now I have always thought of sage shadow as being a shade of green, but now I really know that it is actually a shade of blue-green. I can also see which colours are really yellow-greens, peaches not pinks, yellow-golds as opposed to yellow or a shade of brown.
Now I just need one more rolling cart, then I could add in all my printed papers and non-SU papers and slip them into their spots within the rainbow. This is the order of colours in my stash: pinks into burgundies which moves into reds, then red-oranges into peach, orange, and into the yellows, this moves into dirty yellows, yellow-greens, green, blue-greens, blue, blue-purples, purples, red-purples, which takes us back to the beginning of the rainbow. After the purple family I actually have all of my nuetral coloured cardstock, from creams to beiges to browns, then whites to greys to silver and finally blacks. This is what I did, but I did it by holding the paper next to each other and then I decided exactly where each one should be, sometimes I think I could still move them around but I will leave them as they are.
This has just changed perception of colour in scraproom! It has really simplified my search for just the right colour for each project.
Subscribe to:
Posts (Atom)